This is a documentation for Board Game Arena: play board games online !
ผลต่างระหว่างรุ่นของ "Tutorial gomoku"
| บรรทัดที่ 11: | บรรทัดที่ 11: | ||
Gather useful images for the game and edit them as needed. Upload them in the 'img' folder of your SFTP access. | Gather useful images for the game and edit them as needed. Upload them in the 'img' folder of your SFTP access. | ||
Edit .tpl to add some | Edit .tpl to add some divs for the board in the HTML. | ||
Edit .css to show the image of the board as background. | <pre> | ||
<div id="gmk_game_area"> | |||
<div id="gmk_background"> | |||
<div id="gmk_goban"> | |||
</div> | |||
</div> | |||
</div> | |||
</pre> | |||
Edit .css to set the div sizes and positions and show the image of the board as background. | |||
<pre> | |||
#gmk_game_area { | |||
text-align: center; | |||
position: relative; | |||
} | |||
#gmk_background { | |||
width: 620px; | |||
height: 620px; | |||
position: relative; | |||
display: inline-block; | |||
} | |||
#gmk_goban { | |||
background-image: url( '../../img/gomoku/goban.jpg'); | |||
width: 620px; | |||
height: 620px; | |||
position: absolute; | |||
} | |||
</pre> | |||
[[File:Gomoku tuto2.png]] | [[File:Gomoku tuto2.png]] | ||
รุ่นแก้ไขเมื่อ 22:58, 5 ธันวาคม 2555
This tutorial will guide you through the basics of creating a simple game on BGA Studio, through the example of Gomoku (also known as Gobang or Five in a Row).
You will start from our 'emtpy game' template
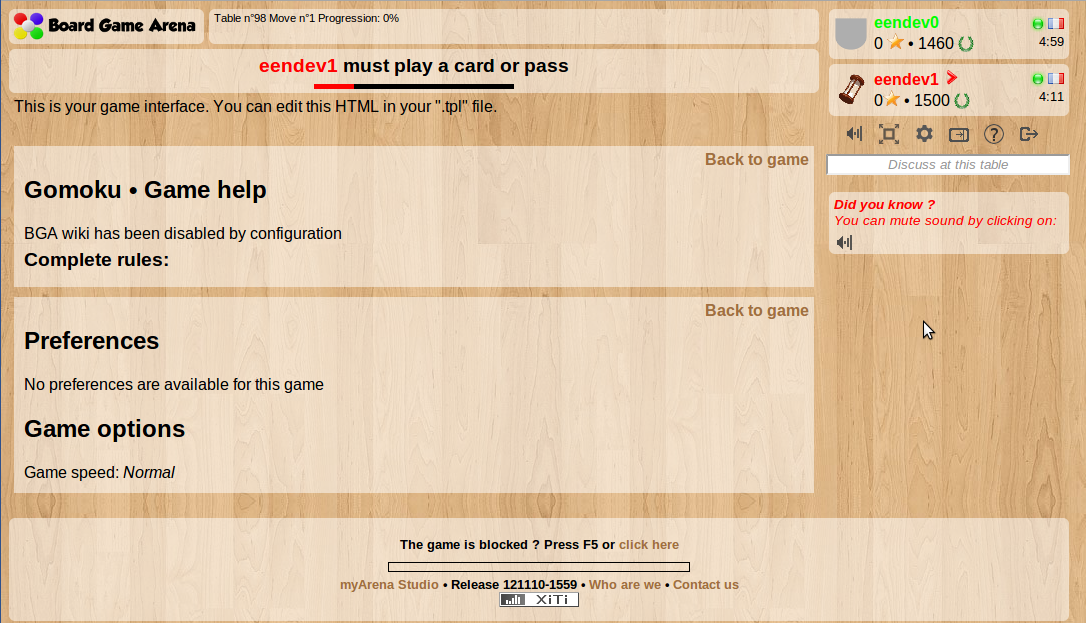
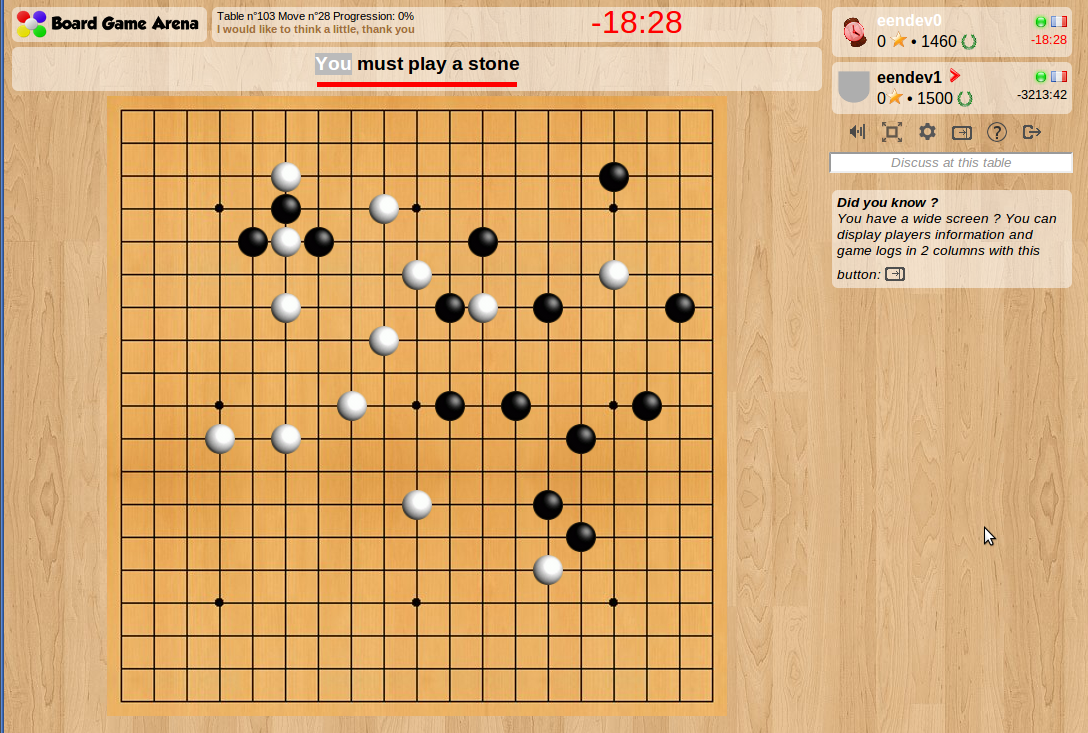
Here is how your games looks by default when it has just been created :
Setup the board
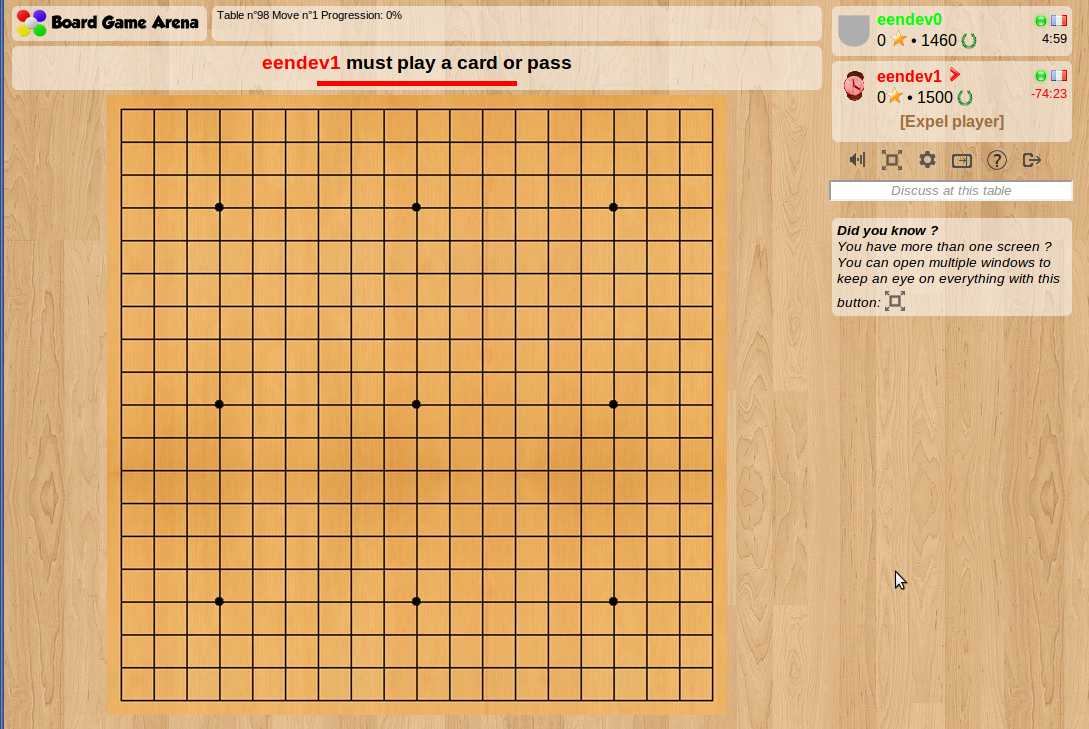
Gather useful images for the game and edit them as needed. Upload them in the 'img' folder of your SFTP access.
Edit .tpl to add some divs for the board in the HTML.
<div id="gmk_game_area">
	<div id="gmk_background">
		<div id="gmk_goban">
		</div>
	</div>
</div>
Edit .css to set the div sizes and positions and show the image of the board as background.
#gmk_game_area {
	text-align: center;
	position: relative;
}

#gmk_background {
	width: 620px;
	height: 620px;
	position: relative;
	display: inline-block;
}

#gmk_goban {
	background-image: url( '../../img/gomoku/goban.jpg');
	width: 620px;
	height: 620px;
	position: absolute;
}
Setup the backbone of your game
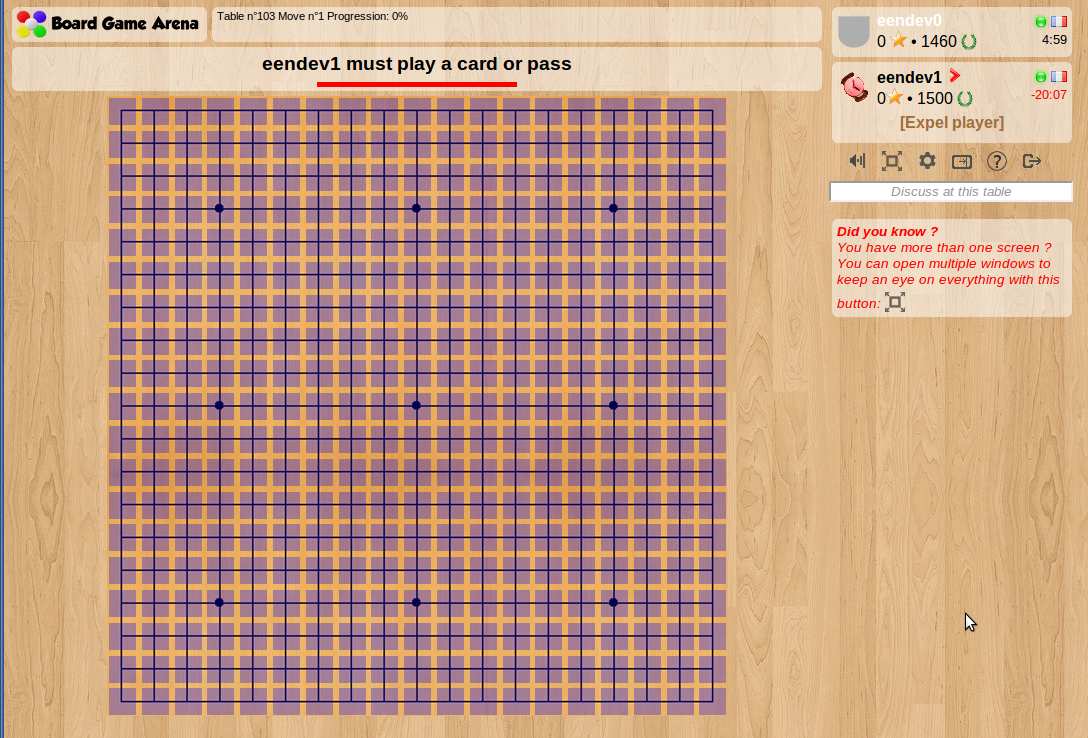
Edit .sql to create a table for intersections.
Edit .game.php->setupNewGame to insert the empty intersections (19x19) with coordinates into the database.
Edit .game.php->getAllDatas to retrieve the state of the intersections from the database.
Edit .tpl to create a template for intersections (jstpl_intersection).
Edit .js to setup the intersections layer that will be used to get click events and to display the stones. Use some temporary css colors on borders or background+opacity to make sure they are positioned right. You can declare some constants in material.inc.php and pass them to your .js through .game.php->getAllDatas for easy repositioning.
Manage states and events
Define your game states in states.inc.php
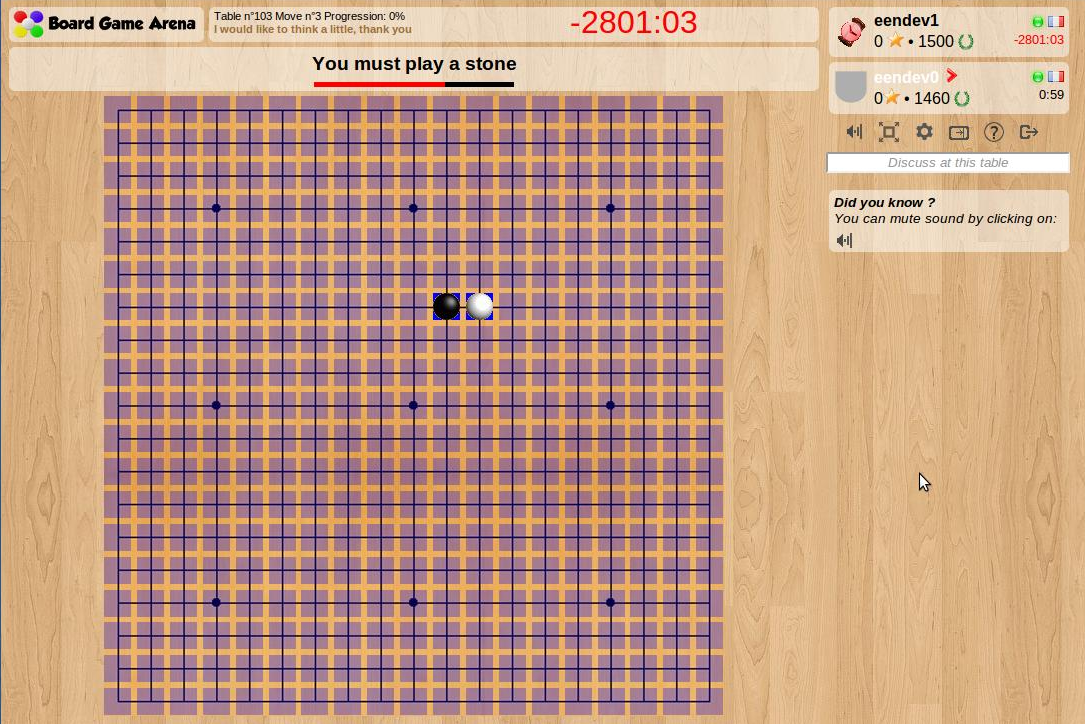
Add onclick events on intersections in .js, calling an action with appropriate parameters
Add action in .action.php, retrieving parameters and calling the appropriate game action
Add game action in .game.php to update the database, then notify the client using a method ‘stonePlayed’
Implement this method in javascript to update the intersection to show the stone, and register it inside the setNotifications function.
The basic game turn is implemented: you can drop some stones!
Cleanup your styles
Remove temporary css visualisation helpers : looks good!
Implement rules and end of game conditions
Implement specific rules for the game (if any)
Nothing special for Gomoku
Implement rule for computing game progression in .game.php->getGameProgression()
Implement end of game detection and update the score according to who is the winner in .game.php->stCheckEndOfGame()
Notify the score and implement the corresponding interface update in .js
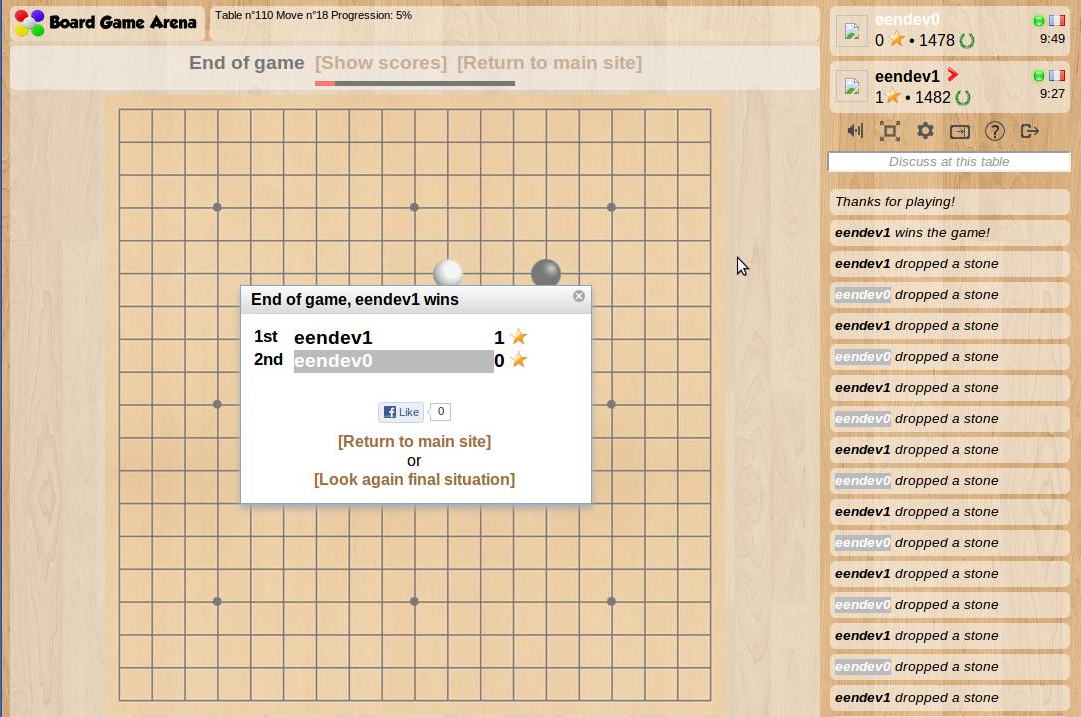
Test everything thoroughly... you are done!
